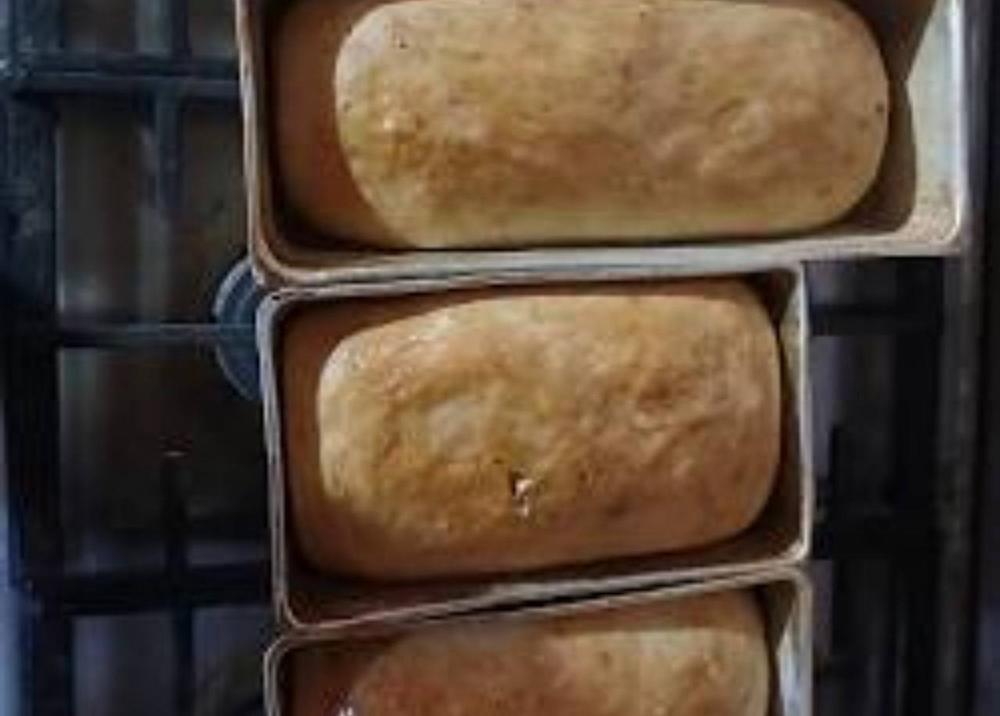
Instructions
- Begin by preparing your yeast. In a small bowl or measuring cup, combine the warm water and granulated sugar. Sprinkle the active dry yeast over the top. Stir gently and let it sit for 5-10 minutes until it becomes foamy. This indicates your yeast is active and ready to go.
- Take a large, heavy-duty, gallon-sized freezer bag (Ziploc-style works best). Drizzle about ½ teaspoon of olive oil inside the bag and gently rub it around to coat the interior. This prevents the dough from sticking.
- Carefully pour the activated yeast mixture into the prepared bag. Add the salt and the remaining 2 tablespoons of olive oil to the bag.
- Add 2 cups of the all-purpose flour to the bag. Seal the bag, leaving a little air inside, and gently squish and mix the ingredients from the outside of the bag. Continue mixing until the flour is mostly incorporated and a shaggy dough begins to form.
- Open the bag and add the remaining 1 cup of flour. Reseal the bag, again leaving a little air. Now, using your hands, knead the dough from the outside of the bag. Squish, press, and fold the dough within the bag for about 5-7 minutes. Continue until the dough is smooth and elastic. If the dough feels too sticky, you can add a tablespoon or two more flour, a little at a time, until it reaches a manageable consistency.
- Once kneaded, remove the dough from the bag. Lightly grease the inside of the same bag (or a clean one) with a tiny bit more olive oil. Place the dough back into the bag, pressing out most of the air, and seal it.
- Place the sealed bag in a warm, draft-free place for its first rise. Let it rise for 1 to 1.5 hours, or until the dough has doubled in size. You can place the bag in a warm oven (turned off, with just the light on) or a sunny spot.
- Once the dough has doubled, gently punch it down while it’s still in the bag to release the air.
- Lightly flour a clean surface. Remove the dough from the bag and gently shape it into a loaf. If you want a perfectly smooth top, gently pull the edges of the dough underneath itself to create a taut surface.
- Grease a 9×5-inch loaf pan with butter or cooking spray. Carefully place the shaped dough into the prepared loaf pan.
- Cover the loaf pan loosely with a clean kitchen towel or plastic wrap. Let it rise in a warm place for its second rise, about 30-45 minutes, or until the dough has nearly doubled in size and crowned over the top of the pan.
- Preheat your oven to 375°F (190°C) about 15 minutes before the second rise is complete.
- Once the oven is preheated and the dough has risen sufficiently, place the loaf pan in the preheated oven.
- Bake for 30-35 minutes, or until the crust is golden brown and the internal temperature of the bread reaches 200-210°F (93-99°C) when measured with an instant-read thermometer. If you don’t have a thermometer, tap the bottom of the loaf; it should sound hollow.
- Remove the bread from the oven and immediately turn it out onto a wire rack to cool completely. Cooling on a rack prevents the bottom crust from becoming soggy.
- Allow the bread to cool for at least 30-60 minutes before slicing and serving. This allows the internal structure to set properly.
Cooking Tips and Variations
For the best results with your “Bread In A Bag,” always ensure your yeast is active. If your water is too hot, it will kill the yeast; too cold, and it won’t activate. Aim for a temperature that feels comfortably warm, like a baby’s bath. Use heavy-duty freezer bags, not thin sandwich bags, as the dough can tear through them during kneading. When kneading in the bag, try to push the dough from side to side, folding it over itself within the bag to develop the gluten. Don’t be afraid to get a little air out of the bag before kneading, but leave enough so the dough has room to move. For a chewier crust, you can spritz the loaf with water a couple of times during the first 10 minutes of baking. To achieve a softer crust, brush the top of the baked loaf with melted butter immediately after it comes out of the oven.
The beauty of this basic recipe lies in its versatility. Here are some fantastic variations to try:
- Herb & Garlic Bread: During step 4, add 1 tablespoon of dried Italian herbs and 1 teaspoon of garlic powder to the dry ingredients. You can also mix in 2 tablespoons of finely chopped fresh parsley or chives after the first rise when shaping.
- Cheese Bread: After the first rise, when you punch down the dough and remove it for shaping, gently fold in ½ to ¾ cup of shredded cheddar, mozzarella, or a Parmesan blend. Shape and proceed as usual.
- Whole Wheat Option: For a heartier loaf, substitute 1 cup of the all-purpose flour with whole wheat flour. You might need to add an extra tablespoon or two of water as whole wheat flour absorbs more liquid.
- Sweet Cinnamon Swirl Bread: After the first rise, roll out the dough into a rectangle on a lightly floured surface. Spread 2 tablespoons of softened butter over the dough, then sprinkle with a mixture of ¼ cup granulated sugar and 1 tablespoon ground cinnamon. Roll the dough up tightly from one long side, pinch the seam closed, and place it in the loaf pan.
- Savory Add-ins: Get creative with your mix-ins! After the first rise, gently incorporate ½ cup of chopped olives, sun-dried tomatoes (drained and chopped), roasted red peppers, or even pickled jalapeños into the dough before shaping.
- Seed Topping: Before the second rise, brush the top of the shaped loaf with a little milk or egg wash, then sprinkle with sesame seeds, poppy seeds, or everything bagel seasoning for extra flavor and texture.
Storage and Reheating
Proper storage is key to keeping your homemade “Bread In A Bag” fresh and delicious. Once the bread has completely cooled (this is crucial!), store it at room temperature. For short-term storage (1-2 days), a bread box or a large, airtight plastic bag works well. Avoid refrigerating homemade bread, as it tends to dry out and become stale more quickly in the fridge. For longer storage, you can wrap the cooled loaf tightly in plastic wrap, then in aluminum foil, and freeze it for up to 3 months. To thaw, simply unwrap the frozen loaf and let it sit at room temperature for several hours, or overnight.
Reheating your bread can bring back some of that fresh-baked magic. If you have a whole or partial loaf, you can warm it in a preheated oven at 350°F (175°C) for 10-15 minutes until it’s warmed through and the crust is crisp again. For individual slices, a toaster or toaster oven works perfectly. You can also quickly warm slices in a dry skillet over medium heat for a few minutes per side. If reheating from frozen, it’s best to thaw first, then reheat as described. Avoid microwaving large pieces of bread, as it can make it rubbery; however, a quick 10-15 second zap can soften a single slice if needed for immediate consumption.
Frequently Asked Questions
My dough isn’t rising. What went wrong?
The most common reason for dough not rising is inactive yeast. This can happen if your water was too hot (killing the yeast) or too cold (not activating it). Ensure your water is between 105-115°F (40-46°C). Another possibility is that your yeast was expired; always check the date on the packet. Finally, make sure your rising environment is warm and draft-free.
Can I use a different type of flour?
While the recipe calls for all-purpose flour, you can experiment. For whole wheat bread, substitute up to half of the all-purpose flour with whole wheat flour, but you may need to add a tablespoon or two more water as whole wheat flour absorbs more liquid. Bread flour can also be used for a chewier texture. Avoid using self-rising flour, as it contains baking powder and salt which will interfere with the yeast’s action.
How do I know when the bread is fully baked?
The best way to tell if bread is fully baked is by its internal temperature. It should reach 200-210°F (93-99°C) when measured with an instant-read thermometer inserted into the center of the loaf. Visually, the crust should be a deep golden brown, and when you tap the bottom of the loaf, it should sound hollow. If it looks done but doesn’t sound hollow, it likely needs a few more minutes in the oven.
Can I make this recipe without a loaf pan?
Yes, you can! If you don’t have a loaf pan, you can shape the dough into a round or oval free-form loaf (often called a boule or bâtard) and bake it directly on a parchment-lined baking sheet. The baking time might be slightly different; keep an eye on the internal temperature and crust color. You might get a slightly flatter loaf without the support of the pan, but it will still be delicious.