Instructions
- Preheat your oven to 350°F (175°C). Grease and flour a 9×5-inch loaf pan, or line with parchment paper leaving an overhang on the sides for easy lifting.
- In a large bowl, whisk together the all-purpose flour, baking soda, and salt. Set aside.
- In a separate medium bowl, whisk together the granulated sugar and the slightly cooled melted butter until well combined.
- Beat in the eggs one at a time, mixing well after each addition. Stir in the vanilla extract.
- Add the mashed bananas to the wet ingredients and mix until just combined. The mixture might look a little lumpy, which is perfectly fine.
- Pour the wet ingredients into the dry ingredients. Stir with a spatula until just combined. Be careful not to overmix; a few lumps are okay. Overmixing can lead to a tough banana bread.
- If using, gently fold in the chopped walnuts, pecans, or chocolate chips.
- Pour the batter evenly into the prepared loaf pan.
- Bake for 55-65 minutes, or until a wooden skewer or toothpick inserted into the center of the loaf comes out clean or with only a few moist crumbs attached. If the top is browning too quickly, you can loosely tent it with aluminum foil during the last 15-20 minutes of baking.
- Once baked, remove the loaf pan from the oven and let it cool in the pan on a wire rack for 10-15 minutes.
- After cooling slightly, carefully remove the banana bread from the pan and transfer it directly to the wire rack to cool completely before slicing. This allows the bread to set and prevents it from crumbling.
Cooking Tips and Variations
For the absolute best banana bread, always use very ripe bananas. The browner and spottier they are, the sweeter and more flavorful your bread will be, and they contribute significantly to the moistness of the final product. If your bananas aren’t quite ripe enough, you can speed up the process by placing them on a baking sheet in a 300°F (150°C) oven for 15-30 minutes until their skins are black. Let them cool before mashing. Another crucial tip is to avoid overmixing your batter. Once you combine the wet and dry ingredients, mix only until just incorporated. Overmixing develops the gluten in the flour too much, leading to a tough and chewy bread instead of a tender, moist one. A few lumps in the batter are perfectly acceptable and won’t affect the final texture.
Ensuring your ingredients are at room temperature, especially the eggs and butter, makes a big difference. Room temperature ingredients emulsify better, creating a smoother, more uniform batter and contributing to a lighter, more even texture in the baked bread. When checking for doneness, don’t just rely on the timer; ovens can vary. Insert a wooden skewer or toothpick into the very center of the loaf. If it comes out clean or with just a few moist crumbs attached, your bread is ready. If it comes out with wet batter, continue baking for 5-10 minute intervals until done. Finally, resist the urge to slice into the bread immediately after removing it from the oven. Allowing it to cool in the pan for 10-15 minutes, then completely on a wire rack, helps the structure set and prevents it from crumbling when sliced, resulting in cleaner cuts and a better overall eating experience.
You can easily customize this classic recipe to suit your preferences. For a delightful crunch and nutty flavor, stir in ½ cup of chopped walnuts or pecans with the dry ingredients. If you have a sweet tooth, ½ cup of chocolate chips (milk, semi-sweet, or dark) makes a wonderful addition. For a hint of spice, add ½ teaspoon of ground cinnamon or a pinch of nutmeg to the dry ingredients. You could also create a simple streusel topping by combining ¼ cup flour, 2 tablespoons sugar, and 1 tablespoon cold butter, then sprinkling it over the batter before baking. Another delicious variation is to add a cream cheese swirl by dolloping softened cream cheese mixed with a little sugar over the batter and swirling it gently with a knife before baking. The possibilities are endless for making this classic truly your own!
Storage and Reheating
To keep your classic banana bread fresh and moist, store it properly. Once completely cooled, wrap the loaf tightly in plastic wrap or aluminum foil, or place slices in an airtight container. It will stay fresh at room temperature for 2-3 days. For longer storage, you can refrigerate it for up to a week. The refrigerator can sometimes dry out baked goods, so ensure it’s very well sealed.
Banana bread freezes exceptionally well, making it perfect for meal prep or enjoying later. To freeze, ensure the loaf is completely cooled. Wrap the whole loaf or individual slices tightly in plastic wrap, then an additional layer of aluminum foil. Place in a freezer-safe bag. It can be frozen for up to 3 months. Thaw frozen banana bread at room temperature for several hours or overnight before serving.
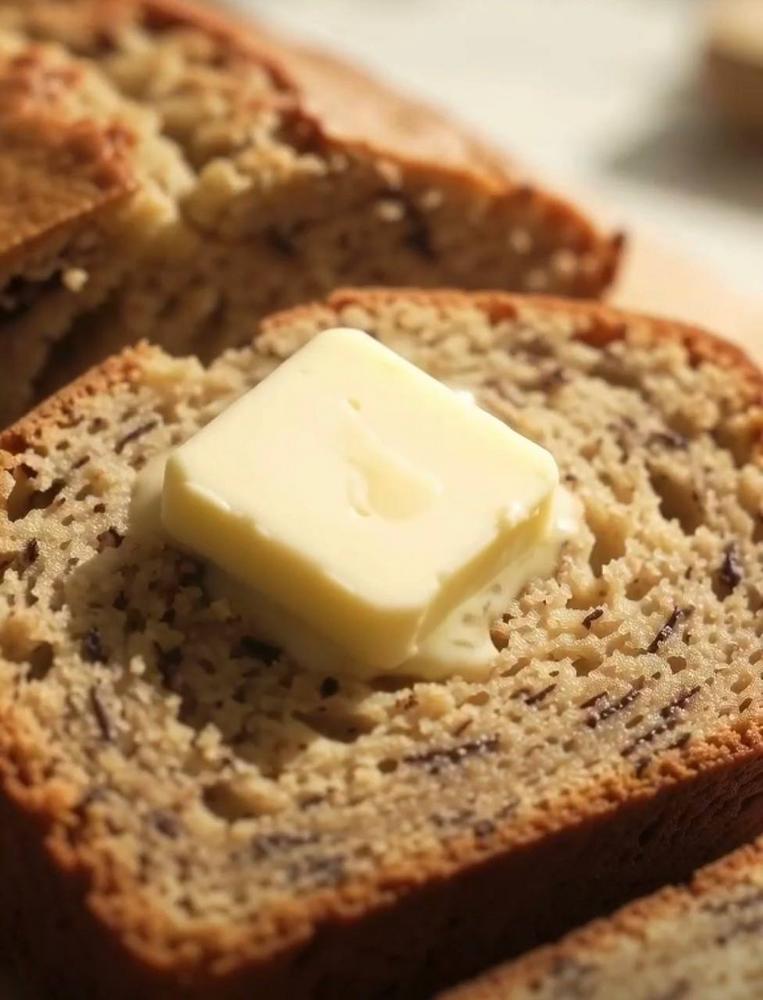
To reheat, you can warm individual slices in a microwave for 15-30 seconds until heated through. For a crispier crust, you can toast slices in a toaster oven or conventional oven at 300°F (150°C) for 5-10 minutes. A warm slice of banana bread, especially with a pat of melting butter, is an absolute delight.
Frequently Asked Questions
Why are my bananas not ripening fast enough?
Bananas ripen naturally over time, but if you need them to ripen quicker for banana bread, there are a few tricks. Place them in a paper bag with an apple or another ripe banana; the ethylene gas released will speed up the process. For an even faster method, you can bake unpeeled bananas on a baking sheet in a 300°F (150°C) oven for 15-30 minutes until their skins turn completely black. Let them cool before mashing.
My banana bread is dry. What went wrong?
Dry banana bread is often a result of overbaking or using too much flour. Make sure to measure your flour accurately, preferably by weight if possible, or by spooning flour into your measuring cup and leveling it off, rather than scooping directly. Also, keep a close eye on the baking time and rely on the toothpick test for doneness. Removing the bread from the oven as soon as the toothpick comes out clean will prevent it from drying out.
Can I make this recipe gluten-free?
Yes, you can often adapt this recipe to be gluten-free. Substitute the all-purpose flour with a 1:1 gluten-free baking flour blend that contains xanthan gum. The rest of the ingredients and instructions should remain the same. The texture might be slightly different, but it should still yield a delicious loaf.
How do I prevent my add-ins (like nuts or chocolate chips) from sinking to the bottom?
To prevent nuts or chocolate chips from sinking, toss them with about 1 tablespoon of the dry flour mixture before folding them into the batter. The light coating of flour helps them suspend more evenly throughout the batter during baking, ensuring they are distributed nicely in every slice.