Instructions
- Heat the olive oil in a large, heavy-bottomed pot or Dutch oven over medium-high heat. Add the chopped onion and cook until softened and translucent, about 5-7 minutes.
- Add the ground beef to the pot. Break it apart with a spoon and cook, stirring occasionally, until thoroughly browned. Drain off any excess fat from the pot.
- Stir in the minced garlic, diced red bell pepper, diced green bell pepper, and diced carrots. Cook for another 5-7 minutes, stirring occasionally, until the vegetables begin to soften.
- Sprinkle the chili powder, ground cumin, smoked paprika, dried oregano, and cayenne pepper over the beef and vegetable mixture. Stir well to coat everything, and cook for 1-2 minutes, allowing the spices to bloom and become fragrant. This step is crucial for developing deep flavor.
- Add the tomato paste to the pot and stir it into the mixture. Cook for another 2-3 minutes, stirring continuously, allowing the tomato paste to deepen in color and flavor.
- Pour in the crushed tomatoes and beef broth. Stir in the drained and rinsed kidney beans and pinto beans. If using, add the Worcestershire sauce and unsweetened cocoa powder or coffee now.
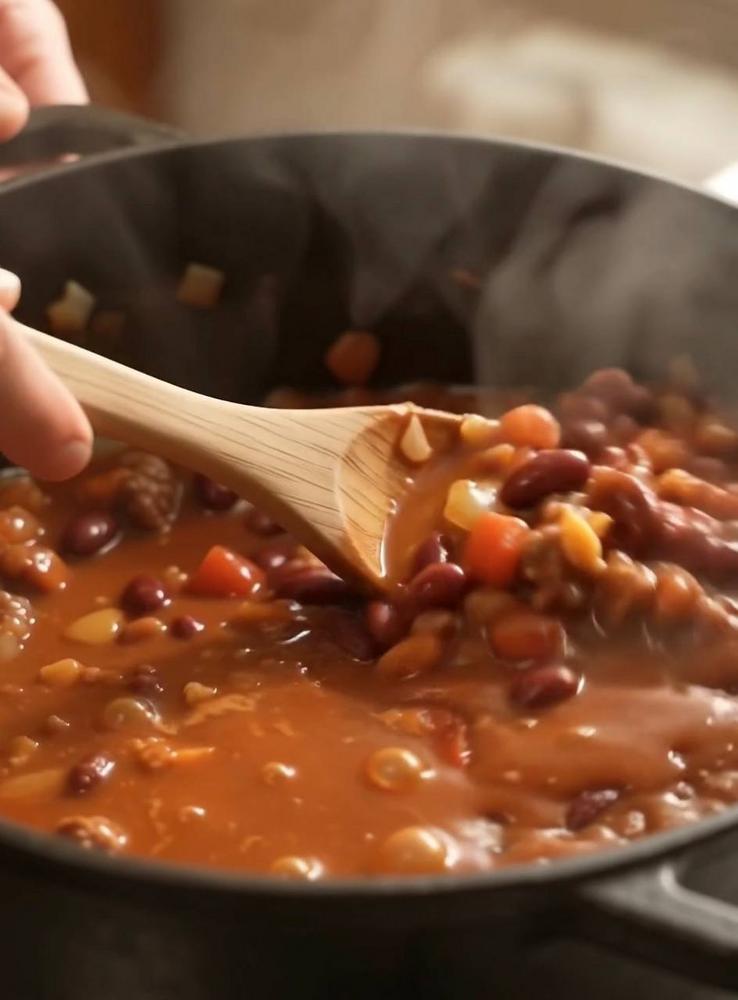
- Bring the chili to a gentle simmer over medium heat, stirring occasionally. Once simmering, reduce the heat to low, cover the pot, and let it cook for at least 1 hour, or up to 3 hours, stirring every 20-30 minutes. The longer it simmers, the more the flavors will meld and deepen.
- After simmering, taste the chili and season with salt and black pepper as needed. Add more cayenne pepper if you prefer a spicier chili. Continue to simmer for another 10-15 minutes, uncovered, if you desire a thicker consistency.
- Serve hot with your favorite toppings.
Cooking Tips and Variations
Achieving the perfect classic beef chili is all about developing layers of flavor, and a few key techniques can elevate your dish from good to unforgettable. First and foremost, don’t rush the browning of the beef. A good, even sear on the ground beef creates delicious caramelized bits that add incredible depth to the finished chili. Similarly, “blooming” your spices by toasting them briefly with the aromatics before adding liquids helps to awaken their flavors and makes them more potent and fragrant. This small step makes a significant difference in the overall aromatic profile of your chili.
The importance of the “low and slow” simmer cannot be overstated. While you can certainly enjoy this chili after an hour, allowing it to gently bubble for 2-3 hours (or even longer!) gives the ingredients time to truly meld, creating a richer, more cohesive flavor profile. The longer it simmers, the more tender the beef becomes, and the more the spices infuse every bite. Just remember to stir occasionally to prevent sticking, especially towards the end of cooking.
When it comes to spice level, this recipe is designed to be adaptable. The amount of cayenne pepper can be adjusted to your personal preference. For a milder chili, you can reduce or even omit the cayenne. If you love heat, feel free to add more, or even incorporate some finely diced jalapeños or serrano peppers along with the bell peppers. You can also add a pinch of red pepper flakes during the spice blooming stage for an extra kick. Remember that flavors intensify as the chili cooks, so it’s always better to add a little less at first and adjust at the end.
For an even richer flavor, consider adding a dash of Worcestershire sauce, which provides a savory umami boost, or a tablespoon of unsweetened cocoa powder or a half-cup of strong brewed coffee. These additions might sound unconventional, but they add a subtle earthiness and depth that makes the chili taste like it’s been simmering all day. Don’t worry, your chili won’t taste like chocolate or coffee; these ingredients simply enhance the savory notes.
This recipe is also incredibly versatile, allowing for various customizations. Feel free to experiment with different types of beans – black beans, cannellini beans, or even great northern beans can be used in place of or in addition to kidney and pinto beans. For a smoky flavor, you can add a chipotle pepper in adobo sauce, minced, along with the other spices. If you prefer a chunkier chili, you can use diced stew meat instead of ground beef, though it will require a longer cooking time to tenderize.
Don’t be afraid to taste and adjust as you go. Seasoning is a continuous process. Taste the chili after an hour of simmering, then again before serving. You might find it needs a little more salt, a touch more spice, or even a tiny pinch of sugar to balance the acidity of the tomatoes. A splash of apple cider vinegar at the very end can also brighten the flavors.
Finally, remember that chili often tastes even better the next day. The flavors have more time to marry and deepen, making leftovers a highly anticipated meal. This makes classic beef chili an excellent candidate for meal prepping or for feeding a crowd, as you can easily double or triple the recipe in a larger pot.
Storage and Reheating
Proper storage is key to enjoying your delicious classic beef chili for days to come. Once the chili has cooled down sufficiently (it’s best to let it cool at room temperature for no more than two hours), transfer it to airtight containers. You can store it in individual portions for easy grab-and-go meals or in larger containers for family servings. Stored in the refrigerator, homemade chili will maintain its quality and freshness for 3-4 days. Always ensure it’s fully cooled before refrigerating to prevent bacterial growth and to help your refrigerator maintain its temperature efficiently.
Classic beef chili is also an excellent candidate for freezing, making it perfect for meal prep or for having a comforting meal ready on busy weeknights. To freeze, allow the chili to cool completely. Transfer it to freezer-safe airtight containers or heavy-duty freezer bags. If using freezer bags, lay them flat on a baking sheet until frozen solid for easier stacking and storage. Frozen chili will keep well for up to 3 months. Label your containers or bags with the date to keep track of freshness.
When you’re ready to enjoy your stored chili, reheating is straightforward. For refrigerated chili, you can reheat it gently on the stovetop over medium-low heat, stirring occasionally, until it’s heated through. If it seems a little thick, you can add a splash of beef broth or water to reach your desired consistency. Alternatively, you can microwave individual portions in a microwave-safe bowl, stirring every minute or so, until hot.
For frozen chili, it’s best to thaw it in the refrigerator overnight before reheating. If you’re in a hurry, you can reheat it directly from frozen on the stovetop over low heat, stirring frequently and breaking it up as it thaws, until it’s hot and bubbling. Again, a little extra liquid can be added if needed. Ensure the chili reaches an internal temperature of 165°F (74°C) to be safely consumed. Always remember that reheating chili slowly helps to preserve its texture and flavor, preventing it from drying out or scorching.
Frequently Asked Questions
What kind of beans are best for classic chili?
For a classic beef chili, kidney beans and pinto beans are the most traditional and popular choices. Kidney beans offer a firm texture and a slightly sweet flavor, while pinto beans are creamier and absorb flavors beautifully. Using a combination of both provides a great textural contrast and a well-rounded flavor profile. However, feel free to use other beans like black beans or cannellini beans if you prefer, as chili is very forgiving and adaptable.
Can I make this chili in a slow cooker?
Absolutely! This classic beef chili recipe adapts wonderfully to a slow cooker. You’ll still want to complete the first few steps on the stovetop: browning the ground beef, sautéing the onions, garlic, and bell peppers, and blooming the spices with the tomato paste. This initial browning and sautéing are crucial for developing deep flavors that a slow cooker alone cannot achieve. Once these steps are done, transfer everything to your slow cooker, add the remaining ingredients (crushed tomatoes, beans, broth, etc.), and cook on low for 6-8 hours or on high for 3-4 hours. The long, slow cook time will result in incredibly tender beef and perfectly melded flavors.
How can I make my chili thicker?
If your chili turns out thinner than you’d like, there are a few easy ways to thicken it. The simplest method is to continue simmering it uncovered for an additional 15-30 minutes. This allows more liquid to evaporate, concentrating the flavors and thickening the consistency. Alternatively, you can mash some of the beans against the side of the pot with a spoon; their starch will help to thicken the chili. For a quick fix, you can create a slurry by mixing 1 tablespoon of cornstarch with 2 tablespoons of cold water, then stirring it into the simmering chili and cooking for a few more minutes until it thickens. Be careful not to add too much, as it can make the chili gummy.
What are the best toppings for classic beef chili?
The beauty of classic beef chili is how well it pairs with a variety of toppings, allowing everyone to customize their bowl. Some of the most popular and delicious options include shredded cheddar cheese (or a Mexican blend), a dollop of sour cream or plain Greek yogurt for a tangy contrast, and thinly sliced green onions or fresh cilantro for a burst of freshness. Other fantastic toppings include crispy corn chips or Fritos for crunch, diced fresh jalapeños for extra heat, a side of warm cornbread, or even a sprinkle of hot sauce for those who crave more spice. Don’t be afraid to mix and match to create your perfect bowl!