Instructions
- Prepare Your Pan: Line an 8×8 inch square baking dish with parchment paper or aluminum foil, leaving an overhang on the sides to create “handles.” Lightly grease the parchment paper or foil with cooking spray or a thin layer of butter. This step is crucial for easy removal of the fudge once it’s set.
- Melt the Butter and Peanut Butter: In a large, heavy-bottomed saucepan, combine the butter and creamy peanut butter over medium-low heat. Stir continuously until both are completely melted and smoothly combined. Be careful not to scorch the mixture.
- Add Sweetened Condensed Milk: Once the butter and peanut butter are melted and smooth, remove the saucepan from the heat. Stir in the vanilla extract and the entire can of sweetened condensed milk. Mix well until all ingredients are thoroughly incorporated and the mixture is uniform.
- Incorporate Powdered Sugar: Gradually add the sifted powdered sugar to the peanut butter mixture, one cup at a time, stirring vigorously after each addition. Continue to stir until all the powdered sugar is fully incorporated and there are no lumps. The mixture will become very thick and stiff. If adding a pinch of salt, do so now.
- Pour into Prepared Pan: Immediately transfer the thick fudge mixture into the prepared 8×8 inch baking dish. Use a spatula to spread the fudge evenly into the pan, pressing it down firmly to ensure it’s compact and smooth on top.
- Chill to Set: Place the baking dish in the refrigerator and chill for at least 2-4 hours, or until the fudge is completely firm. For best results and easier cutting, you can chill it overnight.
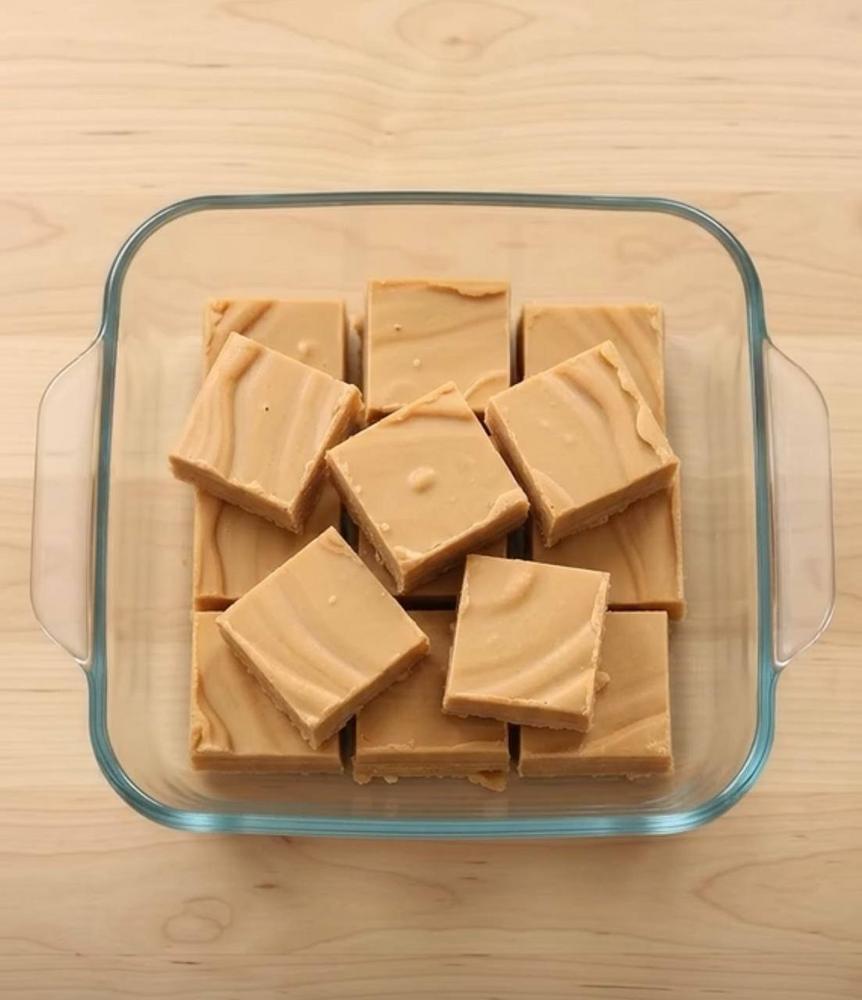
- Cut and Serve: Once the fudge is firm, use the parchment paper or foil overhangs to lift the entire block of fudge out of the pan. Place it on a cutting board. For clean cuts, run a sharp knife under hot water, wipe it dry, and then cut the fudge into 1-inch squares. Repeat the hot water and wiping process for each cut if the knife starts to stick.
- Enjoy! Serve your delicious homemade easy peanut butter fudge and savor the rich, creamy goodness.
Cooking Tips and Variations
Achieving perfect fudge every time is simpler than you think with a few key tips and tricks. The quality of your ingredients plays a significant role in the final outcome. Always opt for a good quality creamy peanut butter; natural peanut butters that separate oil can sometimes result in a greasier or less stable fudge. Ensure your butter is fresh, and using freshly sifted powdered sugar will prevent lumps and ensure a silky-smooth texture. When melting the butter and peanut butter, low and slow is the way to go. Overheating can cause the mixture to become oily or even scorch, leading to an undesirable flavor. Keep the heat moderate and stir constantly until just melted and combined, then remove from the heat before adding other ingredients.
Proper chilling is absolutely crucial for this fudge. Do not rush this step! While it might feel firm after an hour, allowing it to chill for the full 2-4 hours (or even overnight) ensures it sets completely, making it easier to cut into clean, defined squares. A well-chilled fudge will also have that desirable firm yet creamy texture. For the cleanest cuts, use a very sharp knife. Running it under hot water and wiping it dry before each slice will create a smooth, non-stick surface that glides through the fudge, preventing crumbling or dragging. For an extra professional touch, you can even lightly oil your knife blade with a neutral oil before cutting.
The beauty of this easy peanut butter fudge recipe lies in its adaptability. While delicious on its own, it’s also a fantastic canvas for creative variations. For a delightful texture contrast, consider adding about 1/2 cup of mini chocolate chips, chopped roasted peanuts, or even sprinkles into the mixture right before pouring it into the pan. If you’re a chocolate lover, you can swirl in some melted chocolate ganache or a drizzle of melted milk or dark chocolate over the top of the fudge before chilling. Simply melt about 1/2 cup of chocolate chips with a teaspoon of coconut oil or butter, drizzle over the unchilled fudge, and use a skewer or toothpick to create beautiful swirls. For a more intense peanut butter flavor, you could gently melt a small amount of extra peanut butter and swirl it into the top before chilling.
This fudge also makes for wonderful gifts! Once cut, you can arrange the squares in decorative tins, small boxes lined with parchment paper, or even cellophane bags tied with a pretty ribbon. It’s a thoughtful, homemade present that shows you care. For a festive touch, you could press some holiday-themed sprinkles onto the top of the fudge before it sets. If you prefer a crunchier texture, you can experiment with using crunchy peanut butter, though it might make the fudge slightly less smooth. Alternatively, fold in 1/2 cup of finely chopped dry-roasted peanuts into the mixture for a textural surprise. Just be mindful that any additions might slightly alter the setting time or require a bit more chilling. Regardless of how you customize it, this easy peanut butter fudge is sure to be a hit!
Storage and Reheating
Storing your easy peanut butter fudge correctly is key to maintaining its fresh taste and delightful texture. Once cut, the fudge should be stored in an airtight container at room temperature for up to 1 week. If your kitchen tends to be warm, or if you want to extend its shelf life, you can store it in the refrigerator for up to 2-3 weeks. When storing in the refrigerator, it’s a good idea to place pieces of parchment paper or wax paper between layers of fudge to prevent them from sticking together. Before serving refrigerated fudge, allow it to sit at room temperature for 15-20 minutes to soften slightly and bring out its full flavor and creamy texture.
For longer storage, peanut butter fudge freezes exceptionally well. Wrap individual pieces or small blocks of fudge tightly in plastic wrap, then place them in an airtight freezer-safe container or freezer bag. Frozen fudge can last for up to 3 months. To thaw, simply transfer the desired amount of fudge from the freezer to the refrigerator overnight, or let it sit at room temperature for a few hours. There is no need to “reheat” fudge in the traditional sense, as it is meant to be enjoyed at room temperature or slightly chilled. Attempting to heat it in a microwave or oven could cause it to melt and alter its firm, fudge-like consistency.
Frequently Asked Questions
Why is my fudge greasy or oily?
This can happen for a few reasons. One common cause is using a “natural” peanut butter where the oil separates; these often don’t work as well in no-bake fudge recipes. It can also occur if the butter and peanut butter mixture was overheated during the initial melting stage, causing the oils to separate. Ensure you use creamy, processed peanut butter (like Jif or Skippy) and melt the ingredients over low to medium-low heat, stirring constantly, removing it from the heat as soon as it’s smooth.
Can I use crunchy peanut butter instead of creamy?
Yes, you can, but be aware that using crunchy peanut butter will result in a fudge with a different texture. It will no longer be perfectly smooth and will have peanut pieces throughout. If you prefer a smooth fudge but want some crunch, it’s better to use creamy peanut butter and then fold in some chopped roasted peanuts at the end, just before pouring into the pan.
My fudge didn’t set properly, what went wrong?
The most common reason for fudge not setting is insufficient chilling time or incorrect ingredient ratios. Ensure you’ve used the exact measurements, especially for the powdered sugar and sweetened condensed milk. Also, make sure your peanut butter is not a natural, oil-separated type. Crucially, allow the fudge to chill for the full recommended time, or even longer, in the refrigerator. If it still seems too soft, you can try placing it in the freezer for an hour or two to firm it up further.
How can I prevent the fudge from sticking to the knife when cutting?
For perfectly clean cuts, the trick is to use a very sharp knife. Before each cut, run the knife under hot water for a few seconds, then wipe it completely dry. The heat from the blade will help it glide through the fudge without sticking or dragging. For very sticky fudge, you can even lightly spray the knife with cooking spray, then wipe off any excess before cutting.