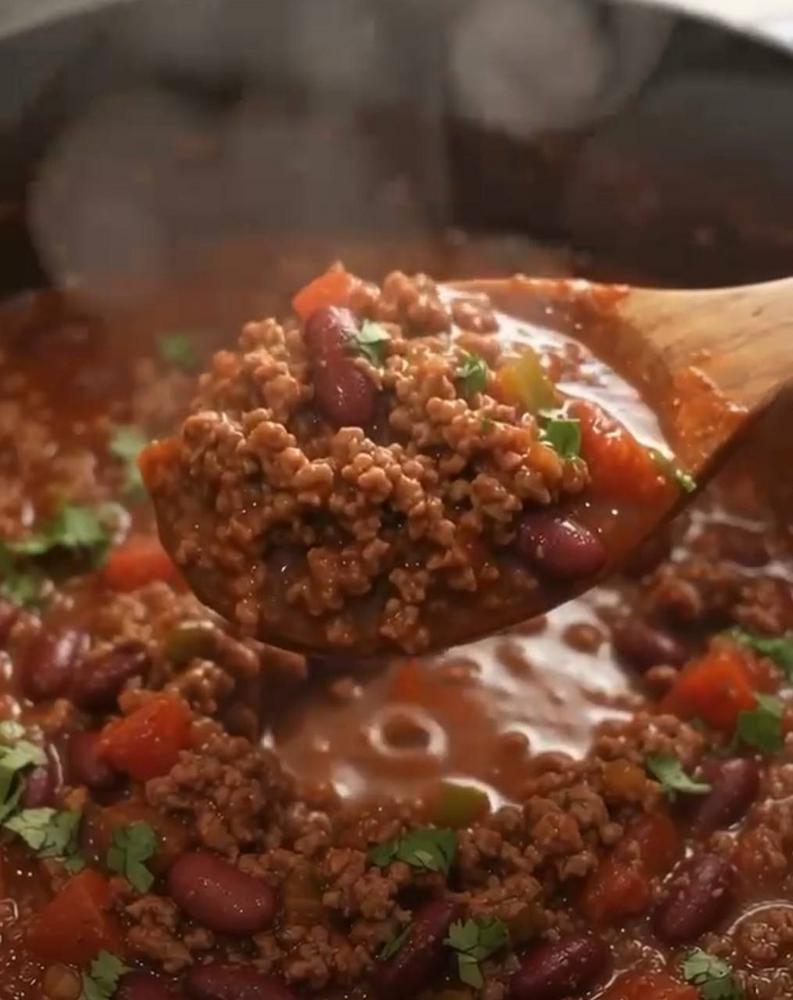
Instructions
- Heat olive oil in a large Dutch oven or heavy-bottomed pot over medium-high heat. Add ground beef and cook, breaking it up with a spoon, until fully browned. Drain off any excess fat from the pot.
- Add chopped onion and green bell pepper to the pot with the browned beef. Sauté for 5-7 minutes, or until the vegetables have softened.
- Stir in the minced garlic, chili powder, ground cumin, smoked paprika, dried oregano, cayenne pepper (if using), salt, and black pepper. Cook for 1-2 minutes, stirring constantly, until the spices are fragrant. This step helps to “bloom” the spices, enhancing their flavor.
- Pour in the diced tomatoes (undrained), tomato sauce, tomato paste, rinsed and drained kidney beans, and beef broth. Stir everything together until well combined.
- Bring the chili to a simmer, then reduce the heat to low, cover the pot, and let it simmer for at least 1 hour. Stir occasionally to prevent sticking and ensure even cooking. For a deeper, richer flavor, you can let it simmer for 2-3 hours.
- Taste the chili and adjust seasonings as needed. You may want to add more salt, pepper, or a pinch more chili powder or cayenne for extra kick.
- Ladle the hot chili into bowls. Garnish generously with fresh chopped cilantro, shredded cheddar cheese, and a dollop of sour cream, if desired. Serve immediately.
Cooking Tips and Variations
For the absolute best Hearty Beef Chili, don’t skimp on the browning of your beef. Getting a good, deep brown crust on the meat before adding other ingredients is crucial for developing a rich, savory foundation of flavor. Make sure to break it up well as it cooks, creating plenty of surface area for that delicious browning. After browning, always drain off any excess fat; this prevents your chili from becoming greasy and allows the other flavors to shine through more clearly. Another pro tip for maximum flavor is to “bloom” your spices. This means adding your chili powder, cumin, paprika, and oregano directly to the sautéed aromatics (onions, peppers, garlic) and cooking them for a minute or two before adding any liquids. The heat gently toasts the spices, releasing their aromatic oils and intensifying their taste, making your chili incredibly flavorful.
The simmering time is also key to a truly great chili. While you can eat it after an hour, allowing your chili to gently simmer for at least 2-3 hours, or even longer on low heat, allows all the ingredients to meld and deepen in flavor. The longer it simmers, the more complex and satisfying the taste will be. For an even more convenient option, this chili is fantastic made in a slow cooker. After browning the beef and sautéing the aromatics and spices on the stovetop, transfer everything to your slow cooker, add the remaining ingredients, and cook on low for 6-8 hours or on high for 3-4 hours. This method is perfect for busy days, allowing you to come home to a delicious, ready-made meal.
Don’t be afraid to customize this recipe to your taste! If you love a spicier kick, increase the amount of cayenne pepper or add a diced jalapeño or two along with the bell pepper. For a smoky depth, a tablespoon of adobo sauce from a can of chipotle peppers in adobo works wonders. You can also experiment with different types of beans; black beans or pinto beans can be substituted for or added to the kidney beans for varied texture and flavor. To sneak in extra veggies, finely grated carrots or zucchini disappear into the sauce, adding nutrients without altering the classic chili taste. For a richer, slightly thicker sauce, a square of dark chocolate (about 1 ounce) or a tablespoon of unsweetened cocoa powder added during the simmer can enhance the depth of flavor without making the chili taste like chocolate. Finally, don’t underestimate the power of a fresh squeeze of lime juice just before serving; it brightens all the flavors and adds a zesty finish.
Storage and Reheating
This Hearty Beef Chili is not only delicious the day it’s made, but it often tastes even better the next day, as the flavors have more time to meld and develop. To store leftovers, allow the chili to cool completely to room temperature. Once cooled, transfer it to an airtight container. It will keep beautifully in the refrigerator for up to 3-4 days. For longer storage, chili freezes exceptionally well. Portion the cooled chili into freezer-safe bags or containers, leaving a little headspace if using rigid containers (as liquids expand when frozen). Label with the date. Frozen chili can be stored for up to 3-4 months without significant loss of quality.
When you’re ready to reheat, there are a few good options. From the refrigerator, you can easily reheat individual portions in the microwave. Place the chili in a microwave-safe bowl and heat on high for 2-3 minutes, stirring halfway through, until heated through. For larger quantities or a more even reheat, transfer the chili to a saucepan or pot and warm gently over medium-low heat on the stovetop, stirring occasionally, until it reaches your desired temperature. If the chili has thickened too much, you can add a splash of beef broth or water to achieve the right consistency. If reheating from frozen, it’s best to thaw the chili in the refrigerator overnight before reheating on the stovetop or in the microwave. If you’re in a hurry, you can reheat it directly from frozen in a pot over low heat, stirring frequently and breaking up the frozen mass, adding a little liquid if needed, until it’s fully thawed and heated through. Always ensure the chili is heated to an internal temperature of 165°F (74°C) before serving.
Frequently Asked Questions
Can I make this chili spicier or milder?
Absolutely! The spice level is very customizable. For a spicier chili, you can increase the amount of cayenne pepper, add a diced jalapeño or serrano pepper when sautéing the aromatics, or even include a pinch of red pepper flakes. For a milder chili, simply omit the cayenne pepper and be mindful of your chili powder brand, as some can be spicier than others. You can always add a dash of hot sauce to individual servings for those who prefer more heat.
What are the best toppings for this chili?
Classic toppings truly elevate this Hearty Beef Chili! Shredded cheddar cheese, a dollop of cool sour cream (or Greek yogurt for a healthier twist), and fresh chopped cilantro are always winners. Other popular options include sliced green onions, diced avocado, crushed tortilla chips or Fritos, a few dashes of hot sauce, or even a squeeze of fresh lime juice to brighten the flavors.
Can I use different types of beans?
Yes, you can! While kidney beans are traditional and hearty, feel free to substitute or add other beans. Pinto beans, black beans, or even cannellini beans work wonderfully in chili. Just be sure to rinse and drain any canned beans before adding them to the pot to remove excess sodium and improve texture.
Is this chili suitable for meal prepping?
This Hearty Beef Chili is an excellent choice for meal prepping! It holds up incredibly well in the refrigerator for several days and freezes beautifully for longer storage. The flavors often deepen and improve after a day or two, making it a perfect make-ahead meal. Simply portion it into individual containers for quick and easy lunches or dinners throughout the week.